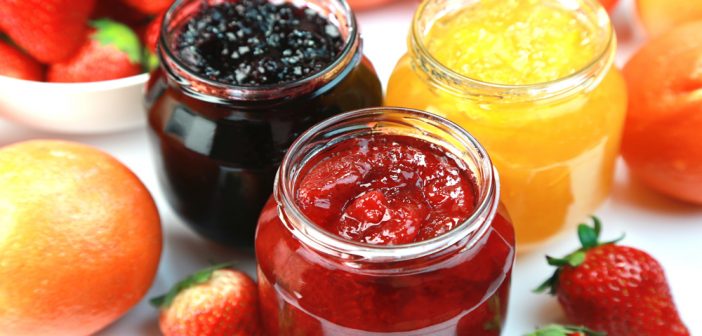
Summer is coming, which means plenty of wonderful things are on the horizon, including fresh, succulent fruit! Enjoy taste of summer fruit all year long by making your own jams and preserves out of fresh fruits. Effectively and cheaply savor your own slice of summer by following the steps below on how to make homemade jams and preserves.
Why Should I Make My Own?
To extend their shelf life of jams, manufacturers often pump preservatives and other undesirables into your food. Not to mention, they’re expensive! You can select your own fruit at their prime and have a blast in the kitchen for a fraction of the cost. This activity is an also a fun way to get children involved and educate them about healthy food.
What’s The Difference?
Although they are strikingly similar, jams and preserves are not the same thing. Once you understand the differences in textures, you can decide which suits your preferences best. Jams are made up of mashed fruits whereas preserves use big chunks or even the whole fruit. Both are incredibly tasty homemade, now it’s up to you to decide what texture you’re aiming for.
Tips Before You Start
1) Make sure your fruit is washed and any stems or cores are removed. If you’re using fruit with a skin, peel it.
2) Take your time and cook in small batches so the fruit can cool quicker and the color will be more vibrant.
3) Use a 1 to .75 ratio for cups of fruit to cups of sugar.
4) If your particular recipe doesn’t call for lemon, squeeze a couple tablespoons in anyway. Lemon juice is a great, natural preservative and it brightens up the fruit.
5) Avoid burned pans by stirring your mixture every 20 minutes.
6) The best way to know if your jam or preserve is finished is the spoon test. Scrape a bit of your fruit onto a spoon and if it can hold its shape for a minute, it’s ready.
How To Do It
Making your own jams and preserves at home is a lot easier than it looks. Here’s a step-by-step process to help walk you through.
1. Sterilize your jars. All you need to do is boil them in a big pot for 10 minutes then dry them. While you’re doing this, get a kettle of water heating up (this is preparation for step 5).
2. After you follow the instructions of your recipe and your fruit has cooled, make your life easier by using a funnel to get your mixture in the jar mess-free. Be sure to leave a bit of space and don’t overfill. Clean any drips with a damp towel.
3. Put the lid on and secure the band just tightly enough to keep the contents in place. If it’s too loose, your beautiful fruit could be exposed, and if it’s too tight, there might not be enough wiggle room for expansion, causing your jar to crack.
4. Whip out your pot again and pad the bottom with a kitchen towel. Add enough water to the pot so that it is filled around 4 inches. One your water is bubbling, place the jars gently inside, leaving at least 1 inch between each jar.
5. Your jars have to be covered with at least 1 inch of water in order to sterilize everything again. If you find that your jars aren’t covered sufficiently, pour hot kettle water into your pot.
6. Let your jars have a nice soak for 10-20 minutes, depending on your specific recipe. When it’s time to take them out, lay down a towel on the counter then carefully use rubber tongs to let them rest on the towel.
7. In order to test that your jars are completely cooled, press down on the lid. If the metal doesn’t shift up and down, then you’re ready to tighten the band, label your jars, and store them.
Homemade jams and preserves are great for a year, which gives you plenty of time to enjoy a taste of summer all year round.
Recipes
The internet is an incredible place to find tried and true recipes that have the most stellar reviews. Search for your own recipe based on which fruits you want to can or try some of these fan favorites.
Strawberry Jam
Raspberry Preserves
Peach Jam
Go Organic
Since jams and preserves are usually made with thin-skinned fruits, try to find organic sources. A great place to get organic and cheap produce is your local farmers market. The best part is this option is much cheaper and tastier than the supermarket.


