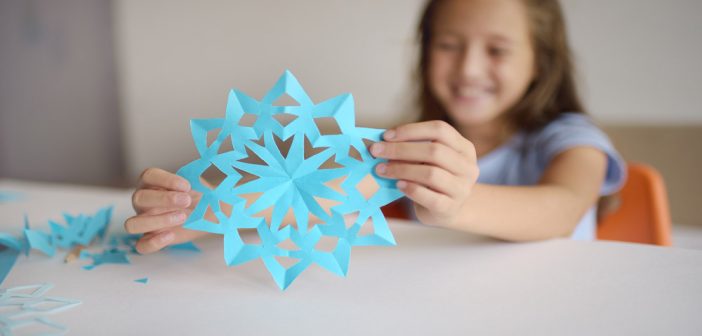
When you think of winter, most of us think about being stuck inside and bored. It’s time to spice up the cold days with some fun winter arts and crafts. Here are a few activities that you can do you with your kids and age isn’t a factor. Grab some hot cocoa and let the winter “artivities” begin!
1) Bubble Wrap Art
Paint is fun and bubble wrap is always a hit. How about combining the two? It’s sure to get your child’s attention when you bring these two items to the table.
What you’ll need:
• Paint
• Bubble wrap
• Paper plate
• Paint brush (optional)
• Construction or art paper
Directions:
1) Place some paint on your paper plate.
2) Use a brush to paint onto the bubble wrap or dab the bubble wrap into the paint.
3) Next, press the painted bubble wrap onto your paper. (You can experiment with many different colors or layering of colors. There is no end to what you can create!)
2) Colorful Ice Sculptures
Have fun building beautiful and colorful sculptures out of ice. You’ll need to wait for a day that has a temp of freezing or below in order for this project to work right. Throw on your warm clothes and head out for an adventure!
What You’ll Need:
• Water bottle
• Food coloring
• Ice tray or molds
• Plastic containers
Directions:
1) Mix some food coloring with water to create multiple batches.
2) Using a few drops of color will work better than a lot of food coloring.
3) Transfer the colored water into ice trays or molds and place in the freezer.
4) Keep in freezer until you are ready to build your sculptures.
When you’re ready to go out for the day, transfer your colored ice into plastic containers to carry outside. Fill your water bottle with water and bring with you.
Now it’s time to start building. Place one block of ice on the ground. Squirt a little water on the area where you plan to join the next block. Add the next block on to the original and hold for 10 seconds. The water acts like glue! You can now keep adding more and more blocks of ice until your sculpture is finished.
Try this – Create a rainbow by adding colors of a rainbow in an arch.
3) Winter Sensory Bag
Sensory bags are a great mess free way to have a fun experience. So let’s create one that fits right in with the weather outside.
What you’ll need:
• Clear hair gel
• Glitter
• Plastic bag
• Marshmallows
• Cellophane glitter
• Tapioca pearls (optional)
Directions:
1) Squirt out half of the bottle of hair gel into the plastic bag.
2) Add other ingredients into bag. Don’t overfill.
3) Add tape to the ends or even carefully hot glue.
4) Place in fridge or freezer for an added sensory.
Tip: Use blue and purple glitter to get that winter dream effect.
4) Snowflake Tape Resist Painting Technique
What could be neater than owning your own snowflake painting? Try it out and see how cool your child thinks this project is.
What you’ll need:
• Paint
• Painters tape
• Paint brush(s)
• Water
• Canvas or art paper
Directions:
1) Place tape on your canvas or art paper in the shape of a snowflake.
2) Make several snowflakes across your canvas
3) Be sure the tape is pressed down firmly.
4) Use your brush and apply paint all over your working area.(It’s ok to paint over the tape because it won’t allow the paint to penetrate the canvas. )
5) Allow your paint to dry. Once the paint is dry, you can remove the tape. This will reveal your beautiful white snowflakes.
5) Macaroni Snowflakes
The only thing more fun than eating macaroni is making something with it. Not only is it fun, but it’s also beautiful!
What you’ll need:
• Macaroni noodles or wagon wheels
• Glue
• White spray paint
• Water
• Wax paper
• Glitter
• Ribbon
Directions:
1) Choose the macaroni that you want to use for your snowflake.
2) set up how your want your design to look.
3) Glue the macaroni together in the shape that you have chosen using craft glue.
4) One glue is completely dry. Place your snowflake on the wax paper.
5) In a ventilated area, spray with your spray paint. Allow to dry completely.
6) Add layers of paint until your snowflake is the desired shade of white. Be sure to allow to dry between layers of paint.
7) Once dry, it’s time to add the sparkle! Take your glue and place it in a bowl. Water down the glue some so that it is easily spreadable.
8) Coat your snowflake in the glue and then dip in glitter. Place on wax paper to dry.
9) Once the snowflake is dry, tie a ribbon through one of the loops if you would like to hang it.


